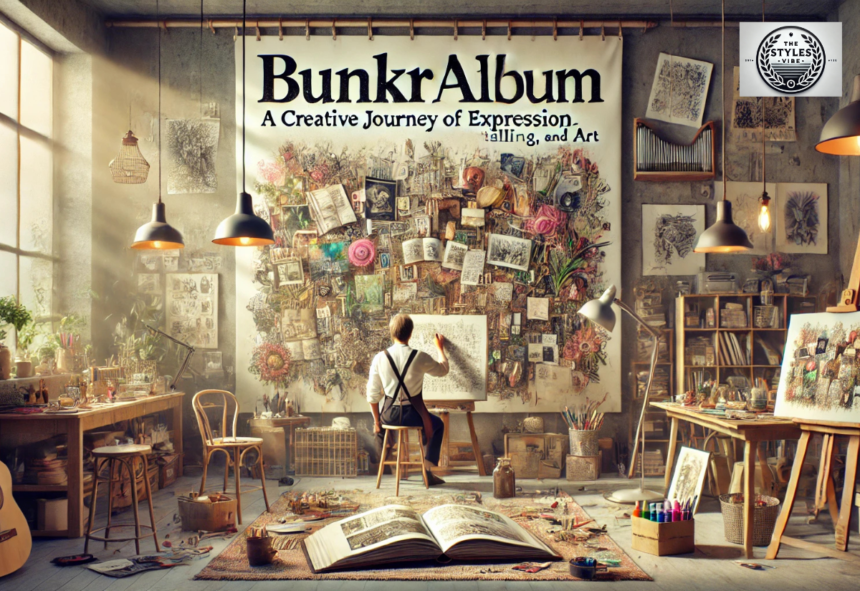
Introduction to Bunkralbums
Creating a bunkralbum is like embarking on a nostalgic journey, where memories come alive through photos and keepsakes. It’s more than just an album; it’s a personal treasure chest that encapsulates experiences, emotions, and milestones. Whether you’re looking to document a special event or simply want to preserve cherished moments from your life, designing a bunkralbum can be both fulfilling and fun. With just the right materials and ideas, anyone can craft an artistic masterpiece that tells their unique story. So grab your supplies, unleash your creativity, and let’s dive into the steps of creating this meaningful project!
Step 1: Gather Your Materials
Before diving into the creative world of bunkralbums, it’s essential to gather your materials. Start with a sturdy album or scrapbook. Choose one that speaks to you; it sets the tone for your project.
Next, collect photos and any mementos you’d like to include. Ticket stubs, postcards, or handwritten notes can add depth and emotion.
Don’t forget about basic supplies: scissors, glue sticks, markers, and decorative paper are must-haves. Consider adding some stickers or washi tape for flair.
Having everything at hand will keep your creative flow uninterrupted. A well-organized workspace helps spark inspiration too! So lay out all your items neatly before getting started—this is where the magic begins!
Step 2: Choose a Theme and Layout
Choosing a theme for your bunkralbum sets the tone for the entire project. Consider what story you want to tell. Are you celebrating a special occasion, documenting a trip, or chronicling everyday life? Your theme can reflect these moments.
Next, think about the layout. A clean and organized design enhances visual appeal. You might prefer structured grids or free-form pages that flow with creativity. Whichever you choose, ensure it complements your photos and mementos.
Color schemes play an essential role too. Bright colors evoke energy while muted tones create elegance. Choose shades that resonate with your theme.
Consider incorporating unique elements like pockets for keepsakes or fold-out pages for extra space. This adds depth to your bunkralbum and makes each page turn an exciting experience! Embrace this creative phase—it’s where ideas come alive!
Step 3: Organize Your Photos and Mementos
Now that you have your materials ready and a theme in mind, it’s time to dive into the heart of your bunkralbum: organizing photos and mementos.
Start by sorting through your collection. Gather all items that represent special memories—photos, ticket stubs, postcards, or even handwritten notes. Lay them out on a flat surface where you can see everything clearly.
Next, categorize these items. You might want to group them by events like birthdays, vacations, or holidays. Alternatively, consider organizing by years or themes if that resonates more with you.
As you sort through each piece, think about its significance. Which moments stand out? These will be the focal points of your album pages.
Don’t rush this step; take your time to relive those cherished memories while arranging them thoughtfully for visual impact later on!
Step 4: Create the Pages
Creating the pages of your bunkralbum is where your vision truly comes to life. Start by selecting a base for each page, whether it’s cardstock or decorative paper that complements your theme.
Next, carefully arrange your photos and mementos on the pages. Play with layouts until you find what feels right. Don’t hesitate to mix sizes; larger images can create focal points while smaller ones add interest.
Use adhesive that won’t damage your items over time. Double-sided tape or glue dots are great options for a clean look.
Consider incorporating pockets or envelopes to store smaller keepsakes like ticket stubs and notes, making it easy to revisit those cherished memories later.
Add captions under photos if words bring back feelings associated with them. This layer of storytelling enriches the experience as you flip through each page in the future.
Step 5: Add Personal Touches and Decorations
Adding personal touches to your bunkralbum is where the magic happens. It’s all about expressing your unique style and personality.
Consider incorporating handwritten notes or quotes that resonate with you. These snippets of text can evoke memories and emotions, making each page more meaningful.
You might also want to include decorative elements like stickers, washi tape, or pressed flowers. They add color and dimension while enhancing the overall aesthetic.
Don’t shy away from mixed media! Use fabric swatches, ticket stubs, or even small drawings to create a tactile experience for anyone flipping through your album.
Remember, less is sometimes more. Balance embellishments with open spaces to keep it visually appealing without overwhelming the viewer’s eye. Make sure every detail reflects who you are; this is what will truly make your bunkralbum one-of-a-kind.
Step 6: Assemble the Bunkralbum
Assembling your bunkralbum is where everything comes together. Start by laying out your completed pages in the order that flows best for your story.
Use double-sided tape or glue to secure each page into the album. Make sure everything sticks well, preventing any future mishaps. If you’re using a binder, consider adding protective sleeves for a polished look.
Take a moment to check each page as you go along. Ensure photos are aligned and mementos fit snugly without bulging.
Once all pages are in place, add any additional elements like dividers or tabs if desired. This can help organize themes or events within your bunkralbum.
Give it one last review before closing up shop! Your hard work deserves an eye-catching finish that captures the essence of what you’ve created.
Tips for Maintaining and Updating Your Bunkralbum
To keep your bunkralbum fresh, set a regular schedule for updates. Consider marking significant dates or milestones in your calendar as reminders.
Always maintain an organized filing system for new photos and mementos. This makes it easier to incorporate them into your album without the hassle of searching later.
Protecting your bunkralbum is essential. Store it in a cool, dry place away from direct sunlight to prevent fading and deterioration.
Don’t hesitate to revisit older pages. Add captions or notes that reflect how you feel now compared to when you first created them.
Engage friends and family by inviting them to contribute their own memories or photos. This can bring a new perspective and enrich the content of your album.
Be open to change! Your bunkralbum can evolve with you, reflecting different phases of life as time goes on.
Conclusion
Creating a bunkralbum can be an enriching experience. It allows you to celebrate memories in a creative way. Each page tells a story, reflecting moments that matter.
Consider this journey as both artistic and personal. The materials you choose and the layout you create all contribute to your unique expression.
As time goes on, don’t forget to revisit and update your bunkralbum. Adding new photos or mementos keeps it fresh and relevant.
Let each addition bring back joy or laughter from the past. Your bunkralbum is not just a collection; it’s an evolving piece of yourself. Engage with it regularly for continued inspiration.
Remember, every detail matters—your style will shine through in ways that reflect who you are! Enjoy this process of creativity and nostalgia together.
faqs
Creating a bunkralbum is a wonderful way to preserve memories and express your creativity. It’s an enjoyable project that allows you to reflect on cherished moments while also crafting something personal and unique.
FAQs
What is a bunkralbum?
A bunkralbum is essentially a personalized scrapbook that combines photos, mementos, and decorations to tell the story of significant events or experiences in your life.
Can I use digital photos for my bunkralbum?
Absolutely! You can print digital photos or even create a hybrid album by incorporating both printed images and digital designs.
How often should I update my bunkralbum?
There’s no set rule! Update it whenever you have new memories you’d like to include. Some people prefer seasonal updates, while others may do so after significant life events.
What materials are essential for making a bunkralbum?
Basic materials include photo paper, adhesive, scissors, decorative paper, markers, and any embellishments you wish to add. Get creative with what speaks to you!
Is there a specific theme I should choose for my bunkralbum?
The theme depends entirely on your interests! Whether it’s travel adventures, family gatherings or special occasions—pick something meaningful that excites you.
How can I keep my bunkralbum safe from damage over time?
Store it in a cool dry place away from direct sunlight. Use acid-free products when possible to prevent deterioration of the pages and items inside.
Feel free to explore this engaging project at your own pace. A bunkaalbum not only captures life’s journey but also serves as an outlet for artistic expression.